How to connect HDML-Cloner Wand to the third-party live streaming software?
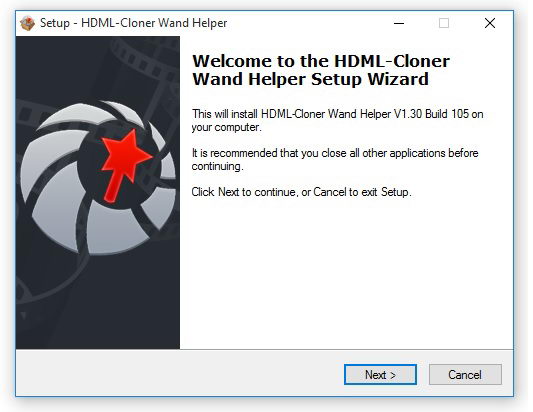
1. Click here to download HDML-Cloner Wand Helper V1.30 or above. Then run HDML-Cloner Wand Helper.
Note: Only HDML-Cloner Wand Helper V1.30 or above supports live streaming. Please make sure you are using Windows 7 or above.
Restart your computer and connect devices. Then you can see the driver “Video Live Streamer Device” in Device Manager – Sound, video and game controllers. Now you can record videos with HDML-Cloner Wand Helper.
Tips: If you just want to stream live video, it is unnecessary to run HDML-Cloner Wand Helper.
Install XSplit Broadcaster software and run it.
Tips: You can click https://www.xsplit.com/#broadcaster to download XSplit Broadcaster.
Select “Video Live Streamer Device” in “Sources” - “Webcam, capture card, video devices” on the main interface of XSplit Broadcaster.
After selecting the driver, there are only images on the interface but no sound.
Click on the “Settings” option at the bottom of the interface. Then “Video Live Streamer Device” interface will appear.
Select “Audio Live Streamer Device” in “Audio Input” drop-down options and then you can hear the sound from video.
You can drag the video frame to expand the video window.
Click on the “Outputs” menu and then choose a live streaming platform in the “Set up a new output” popup options. (Take Hitbox for example)
Hitbox Channel Setup Wizard window will appear, as shown below:
Click on the “Authorize” button and input the username and password of your Hitbox account in the pop-up window. Then click on the “Sign In” button.
After successful login, it will determine the best server and connect automatically.
Then it will begin to check the connection speed.
In the final step, recommended video resolutions for uploading will be shown automatically. Then click on the “Finish” button to complete the setup wizard.
Confirm that you choose the current resolution and then click on the “Yes” button.
After finishing the setup wizard, your username, channel and server will be shown automatically. Define the parameters of Video Encoding, Audio Encoding and Network Connection and click on the “OK” button to establish the connection.
Go back to the main interface and you can see the connection “hitbox - jackmy” in “Outputs” drop-down options. Click it (jackmy is the username of your Hitbox account) to create a live stream.
Click on the “here” button in the pop-up window to view your live stream through the web browser.
Live streaming…
You can click “hitbox-jackmy” in “Outputs” drop-down options to turn off the live stream.
Click on the “Outputs” menu and then click “hitbox-jackmy” in the “Remove output” option to delete the live stream.