How to record videos to PC with ClonerAlliance UHD Pro?
Connection Guide of ClonerAlliance UHD Pro
Connect the video player to IN port on ClonerAlliance UHD Pro via an HDMI cable.
Connect the USB to Type-C cable between the “To PC” port on ClonerAlliance UHD Pro and the USB port of PC. ClonerAlliance UHD Pro supports USB 3.0 and UVC video capture at up to 4K@60fps.
Plug the power adapter into the power socket and plug the other end into the 12V/1A port of ClonerAlliance UHD Pro.
Install ClonerAlliance Helper or OBS Studio
For Windows users, ClonerAlliance Helper or third party software like OBS, VLC, etc can be used with ClonerAlliance UHD Pro.
For Mac or Linux users, please download third party software like OBS Mac/Linux version accordingly to work with ClonerAlliance UHD Pro.
You may make a selection according to your own demand.
Please download the latest version of ClonerAlliance Helper from our official website: https://www.cloner-alliance.com/download.html
Please download OBS at: https://obsproject.com/download
If you use ClonerAlliance Helper, for more details about registering ClonerAlliance Helper, click HERE to read step by step instructions.
Record/Capture
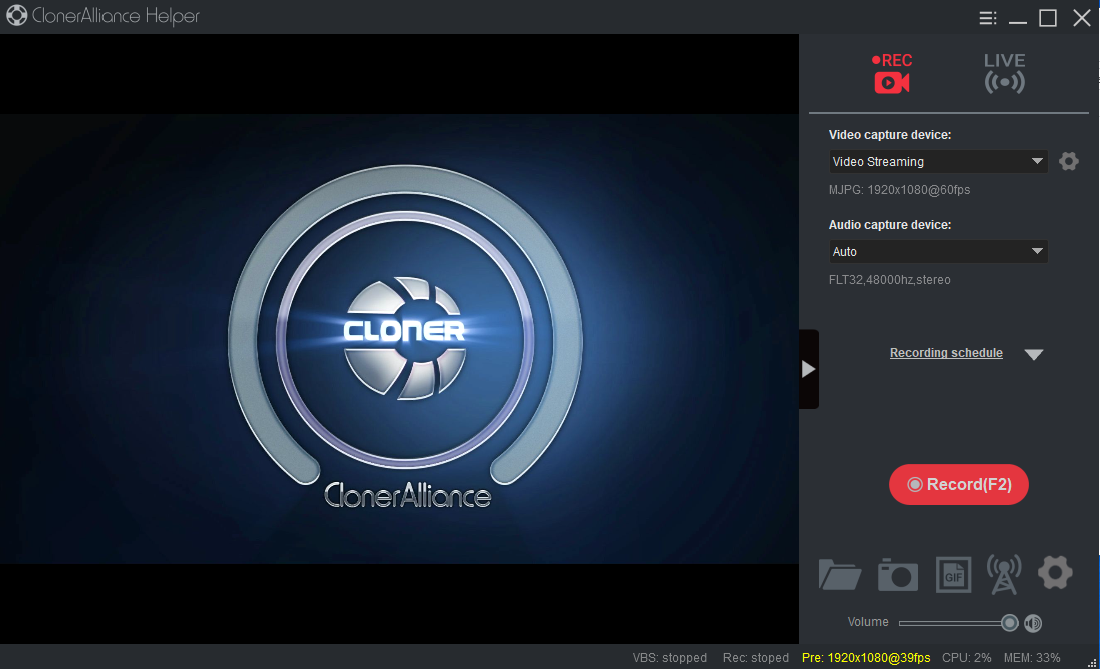
After all devices are connected properly, insert the video disc into the drive of the video player and run ClonerAlliance Helper.
Click “Record(F2)” to start recording.
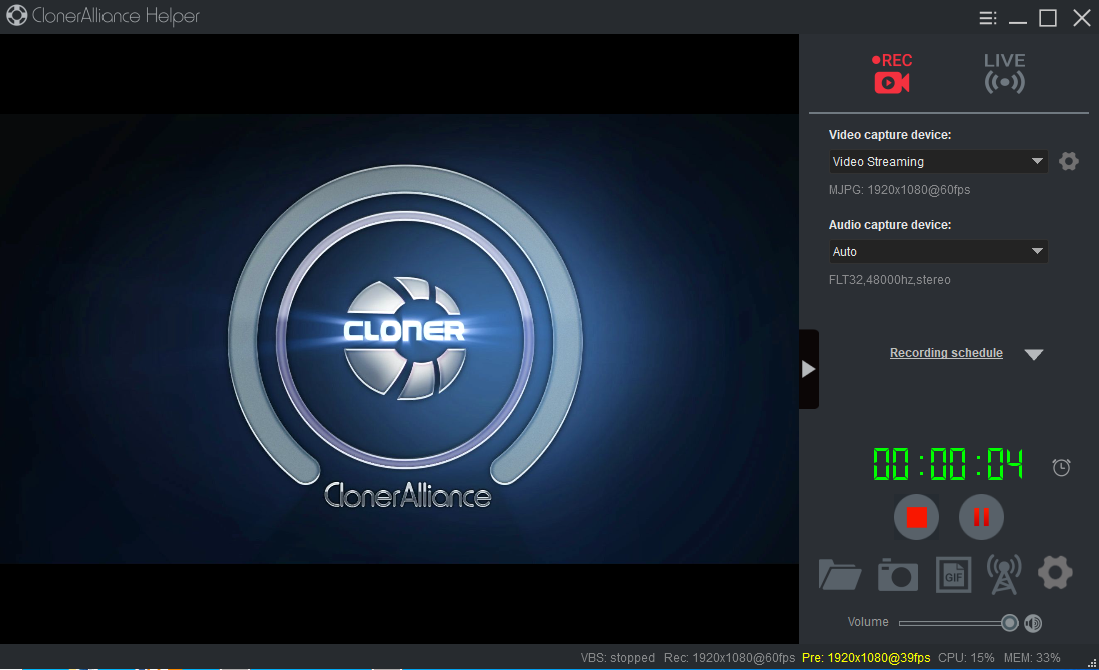
Click
 to stop recording.
Tips: During recording, you can click  to pause at any time. When you want to resume, please click
  to continue recording. Besides, you can click
  to take screenshots or click
  to capture a GIF picture.
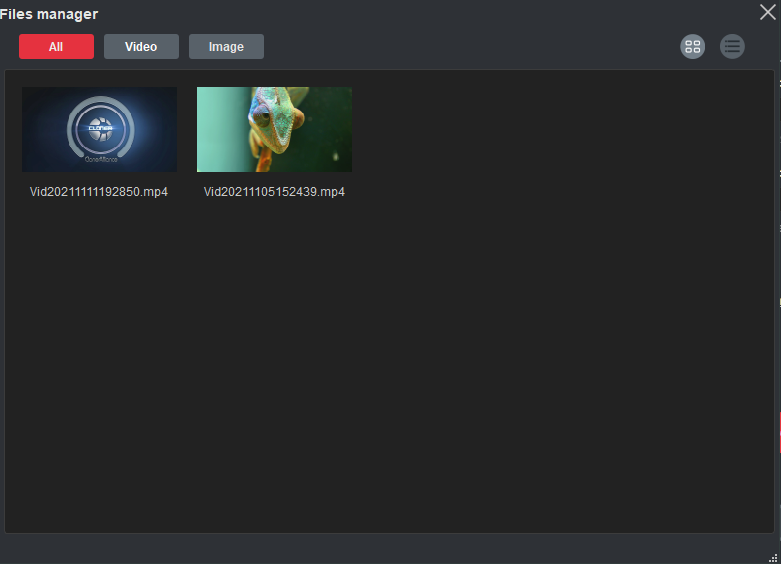
After recording, click
 to view the recorded video. Then you can click
  to play back the recorded video directly.