How to record videos to PC with ClonerAlliance Box Pro?
Together with bundled software ClonerAlliance Helper, you can use ClonerAlliance Box Pro to record videos to Windows PC.
Notice: We offered the software “HDML-Cloner Pro Helper” to record to windows PC before. Starting from the date of November 23, 2021, these customers can also use their registration code of HDML-Cloner Pro Helper to activate another software “ClonerAlliance Helper” for free, whose functions are more powerful than “HDML-Cloner Pro Helper”. Please feel free to select whichever software you like to use.
1. System Requirements
Prior to installing ClonerAlliance Helper, please make sure you are using Windows Vista or later versions and your PC is equipped with USB 2.0 or USB 3.0 port.
2. Install ClonerAlliance Helper
Please download the latest version of ClonerAlliance Helper from our official website: https://www.cloner-alliance.com/download.html
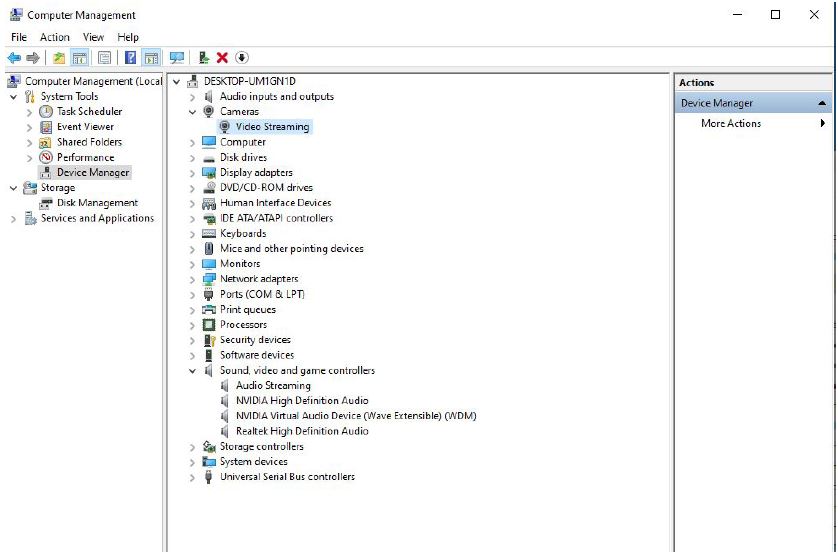
If ClonerAlliance Box Pro isn’t recognized by your PC, please make sure “Video Streaming/Audio Streaming” device is installed successfully and appears in the Device Manager (Right-click My Computer – Manage – System Tools – Device Manager). If “Video Streaming/Audio streaming” device doesn’t appear in the list, please reinstall ClonerAlliance Helper and try again.
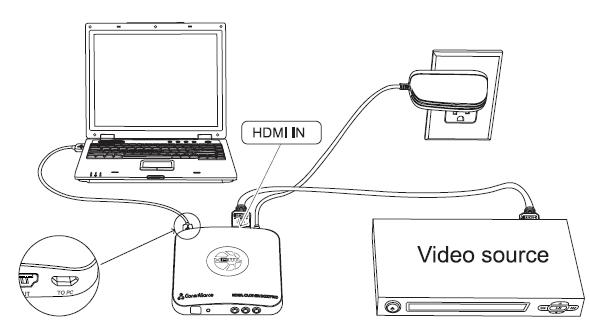
3. Connect
Connect the video player to IN port on ClonerAlliance Box Pro via an HDMI cable.
Connect the Micro-USB to USB cable between the “TO PC” port of ClonerAlliance Box Pro and the USB port of PC.
Plug the power adapter into the power socket and plug the other end into the power port of ClonerAlliance Box Pro.
Tips:
If you want to connect devices via the VGA/AV/YPbPr to HDMI cable, please connect the video player to MMI IN port on ClonerAlliance Box Pro.
When ClonerAlliance Box Pro is connected to PC successfully, the LED light will turn off.
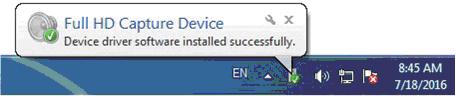
After all devices are connected properly, when you power on all devices, the Windows operating system will prompt “Found a new hardware” and install the driver automatically. Wait a while and when the prompt “Device driver software installed successfully” pops up (as shown below), run ClonerAlliance Helper on the desktop.
4. Register ClonerAlliance Helper
For more details about registering ClonerAlliance Helper, click HERE to read step by step instructions.
5. Record/Capture
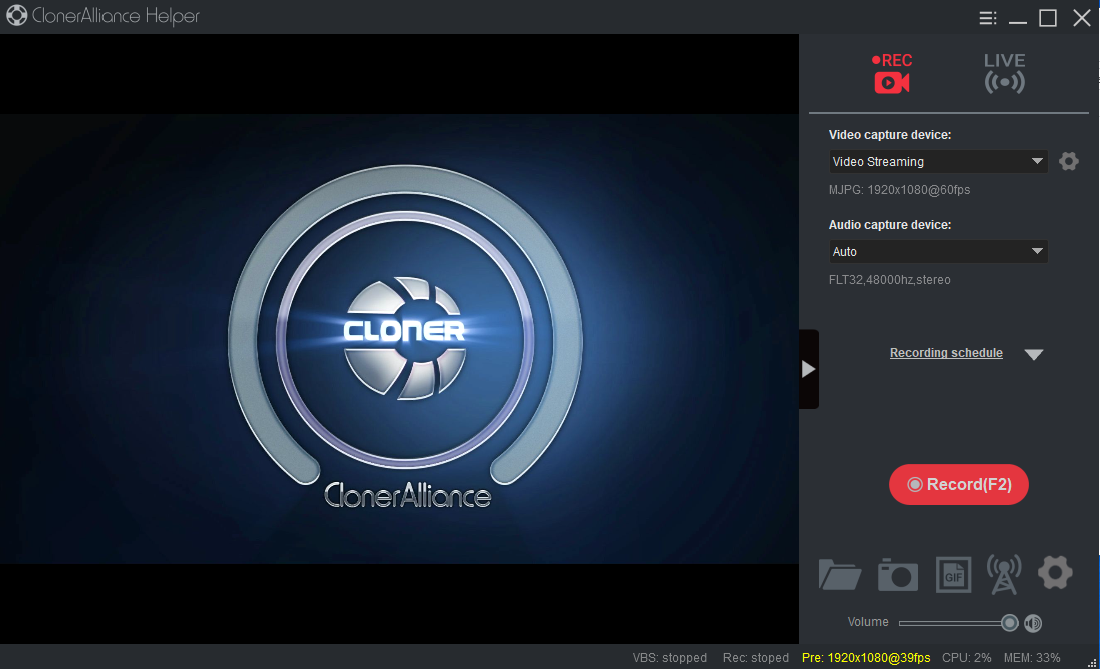
After all devices are connected properly, insert the video disc into the drive of the video player and run ClonerAlliance Helper.
Click “Record(F2)” to start recording.
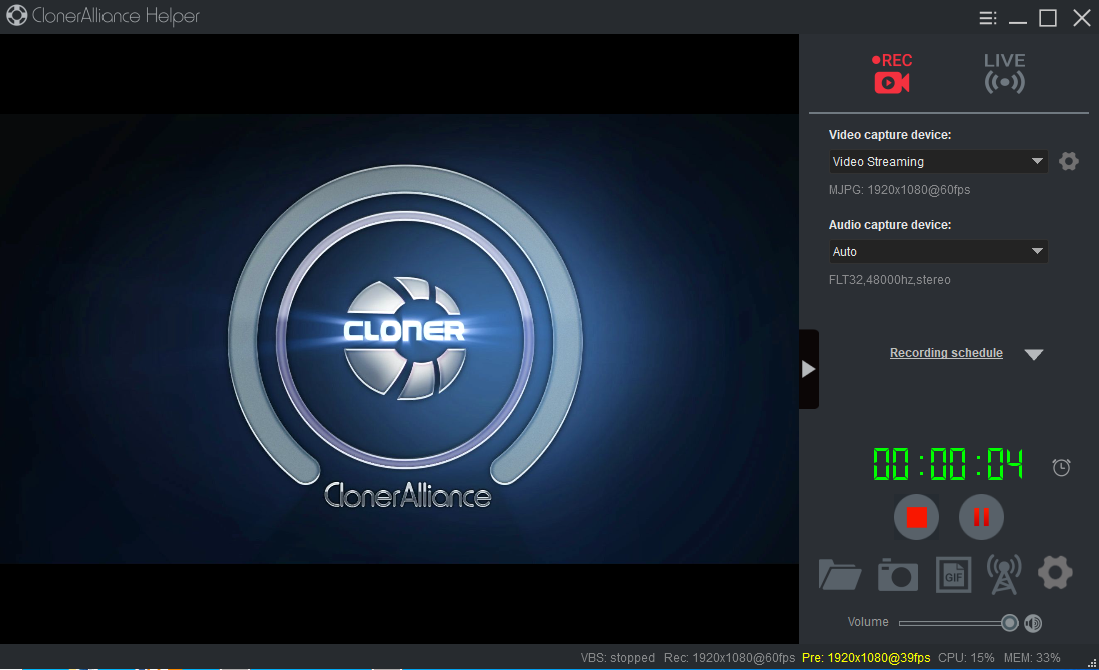
Click
 to stop recording.
Tips: During recording, you can click  to pause at any time. When you want to resume, please click
  to continue recording. Besides, you can click
  to take screenshots or click
  to capture a GIF picture.
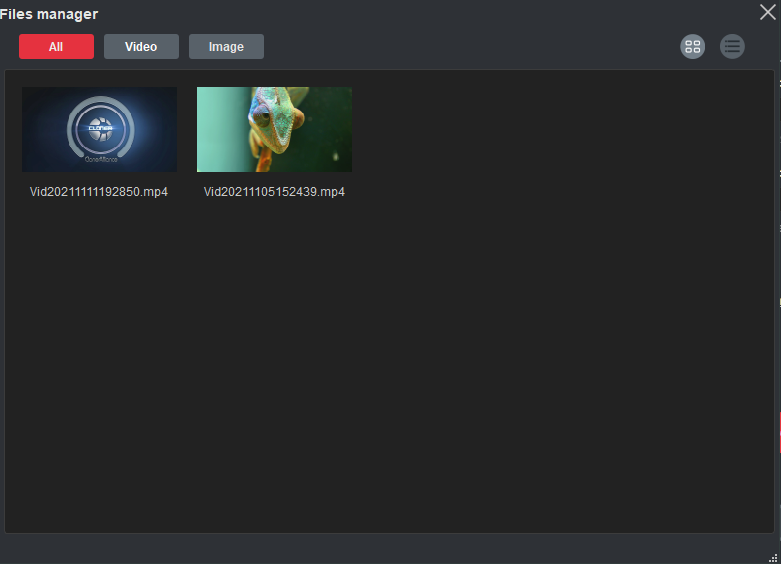
After recording, click
 to view the recorded video. Then you can click
  to play back the recorded video directly.