How to record videos to PC with ClonerAlliance ViewPro?
A:
Install ClonerAlliance Helper (Windows system software) first.
Download 32bit ClonerAlliance Helper from https://static.cloner-alliance.com/download/cloneralliance-helper.exe
Download 64bit ClonerAlliance Helper from https://static.cloner-alliance.com/download/cloneralliance-helper-x64.exe
Please register ClonerAlliance Helper first before using, otherwise there is a watermark when you use the trial version. For more details about registering ClonerAlliance Helper, please refer to detailed instructions at: https://www.cloner-alliance.com/help/knowledgebase/how-to-register-cloneralliance-helper
Connect ClonerAlliance ViewPro with other devices
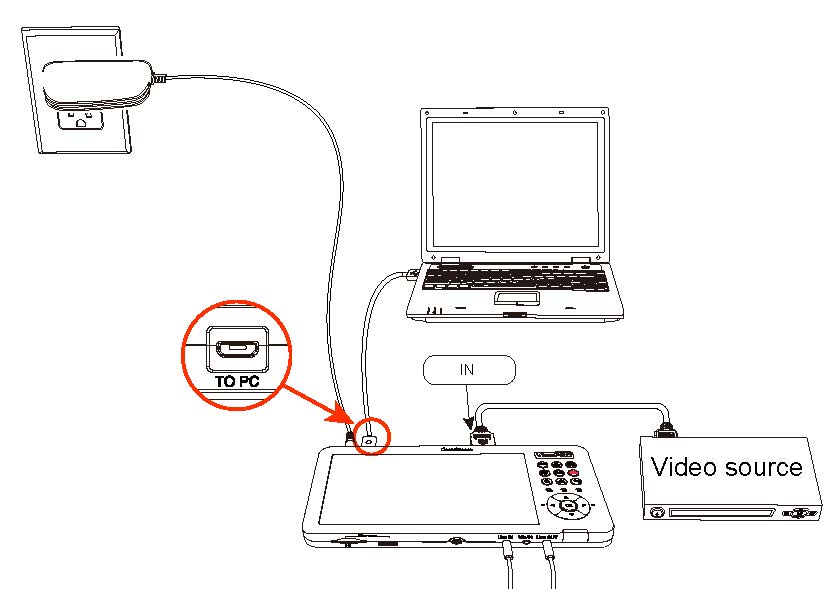
Connect the video player to the In port on ClonerAlliance ViewPro via an HDMI cable. Note: For AV/VGA/YPbPr source devices, please use the included MMI cable and connect it to the MMI port on ViewPro. After connections, please use the signal buttons on the remote or the “Source” button on ViewPro device to select the correct input signal.
Plug the power adapter into the power socket and plug the other end into the 12V port of ClonerAlliance ViewPro. Or install batteries into the device for power supply.
Connect the USB-A to Micro-B cable between the “To PC” port of ClonerAlliance ViewPro and the USB port of PC.
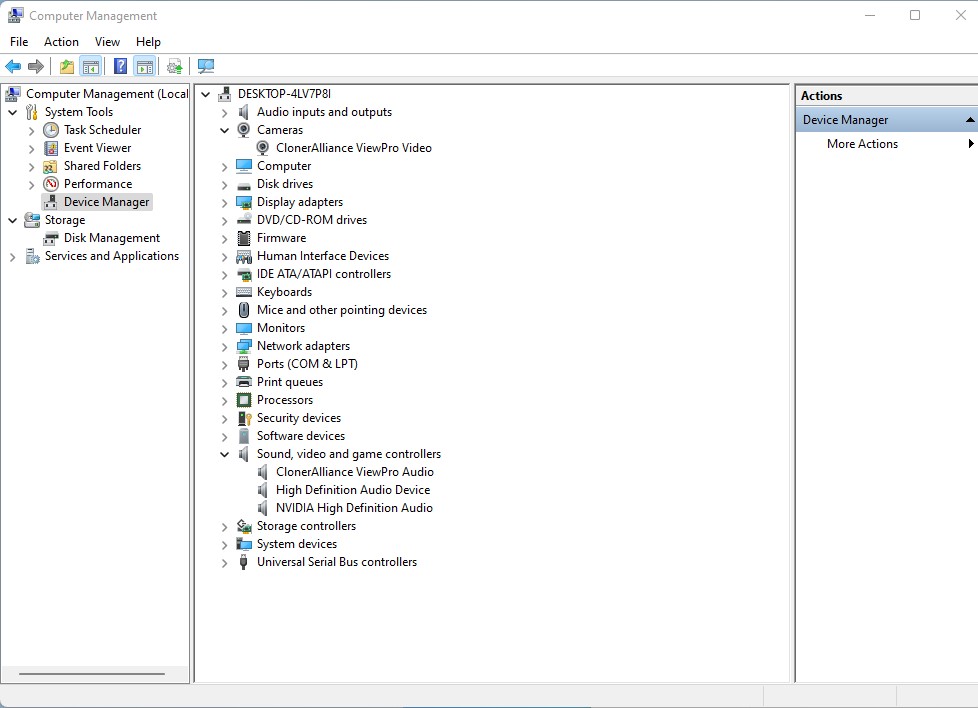
After all devices have been connected properly, please power on all connected devices. The Windows operating system will prompt “Found a new hardware” and install the driver automatically. Please make sure ClonerAlliance ViewPro is connected successfully and “ClonerAlliance ViewPro Video” appears in the Device Manager (Right click My Computer – Manage – System Tools – Device Manager). If “ClonerAlliance ViewPro Video” doesn’t appear in the list, please re-connect ClonerAlliance ViewPro and try again.
Record/Capture videos on PC
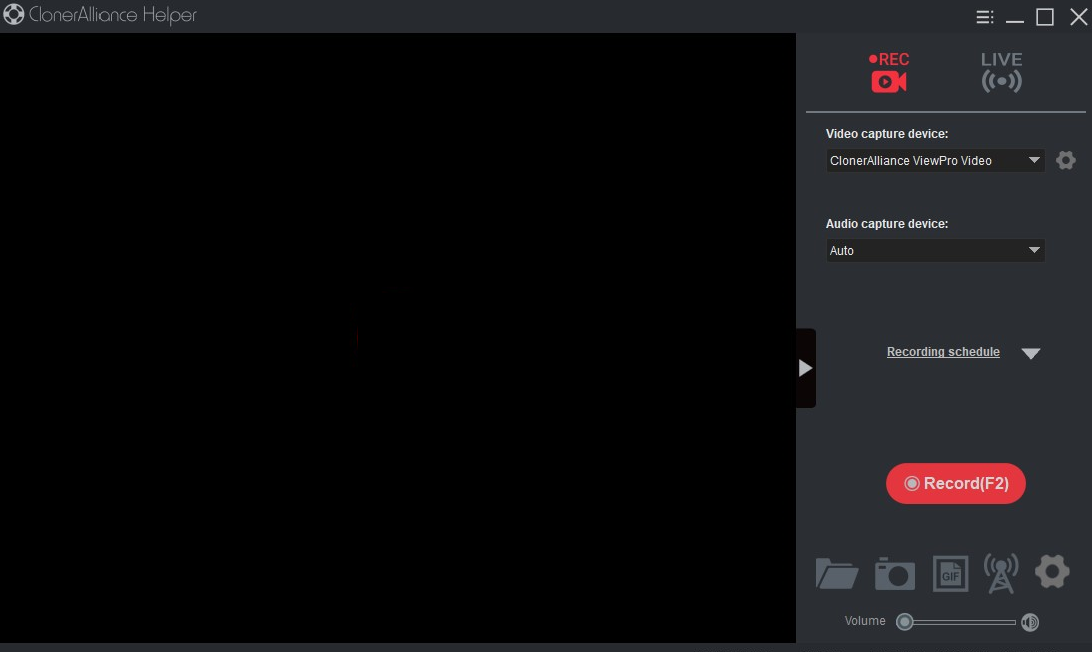
1. After all devices are connected properly, power on the video source device and launch ClonerAlliance Helper on PC. • When you use ClonerAlliance ViewPro for the first time or restore all settings to the default, you may see the following black screen:
Please refer to this link to find the answer: https://www.cloner-alliance.com/help/knowledgebase/black_screen_tips_viewpro
If everything is ok and you will see the image of the video source as below:
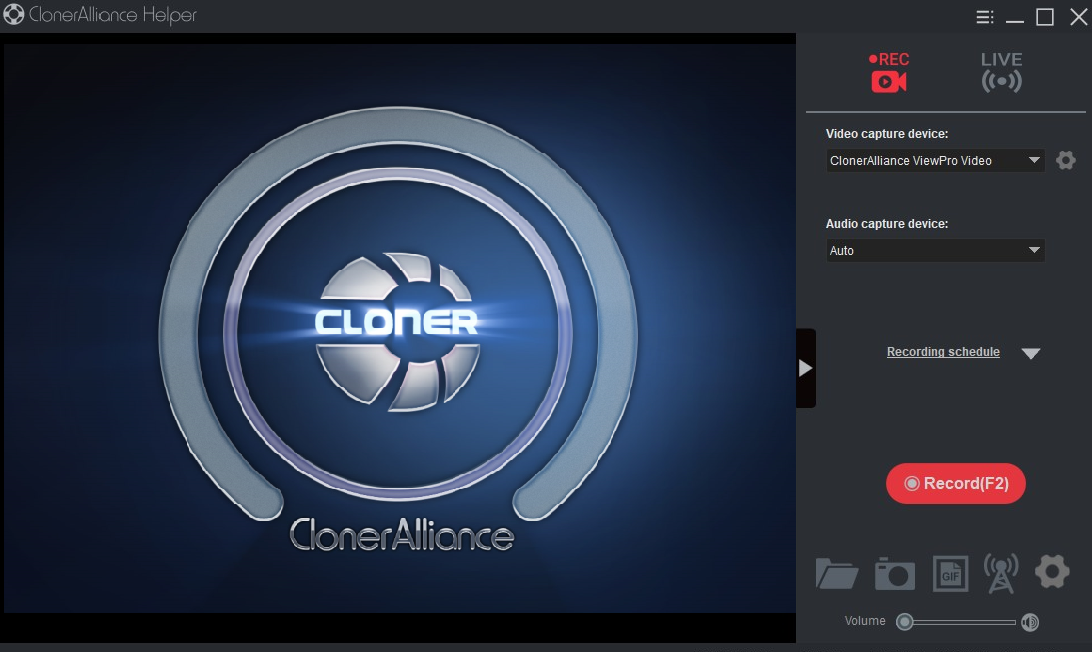
Click “Record(F2)” button to start recording.
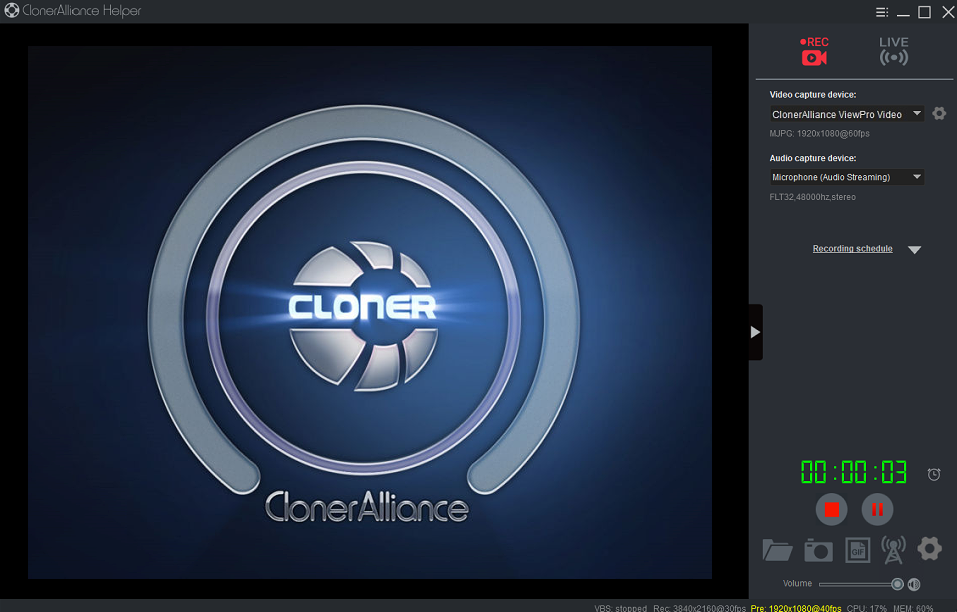
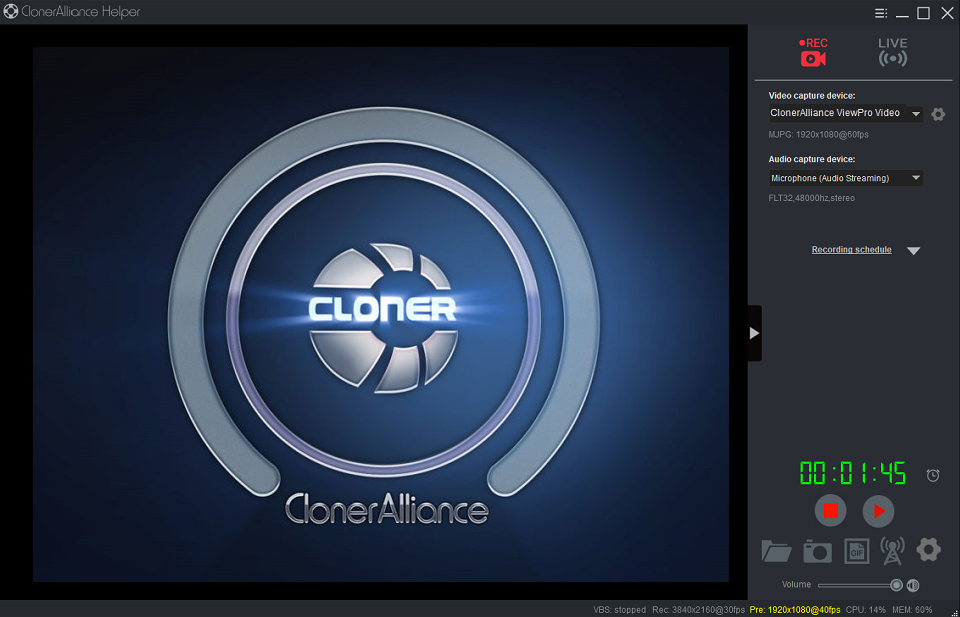
Click “Stop” button to stop recording.
Tip: During recording, you can also pause at anytime. When you want to resume, please click “resume” button to continue recording. Besides, you can take screenshots and capture GIF animation.
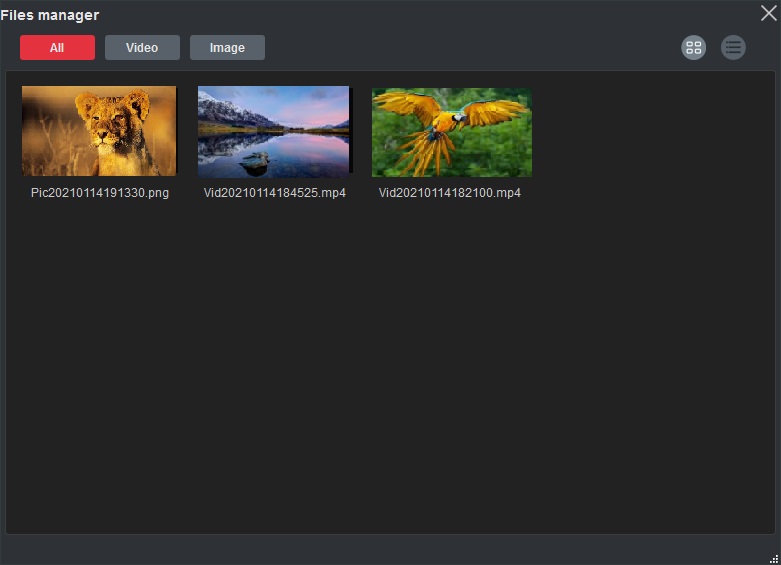
After recording, click “Folder” to view the captured files, then double click the files to play back directly.